Dual ISDN PRI PCIe Voice Card (OCH-VDA-02)


Voice Card Driver Package
The download link given below installs the Ocha Voice Card driver for Windows 7, Windows 8 and above. Click on the required link to download the driver package.
-
Unified Driver for Windows
Version:
Size:
Note: Please update the Ocha Card driver to the latest version (version ) from the above given link before proceeding with the installation instruction.
How to install the Voice Card Driver
- Double click on the downloaded file to execute and install the Voice Card driver.
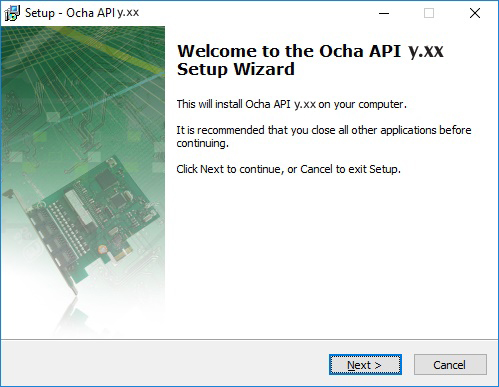
- Setup Wizard will appear, press "Next" to proceed.
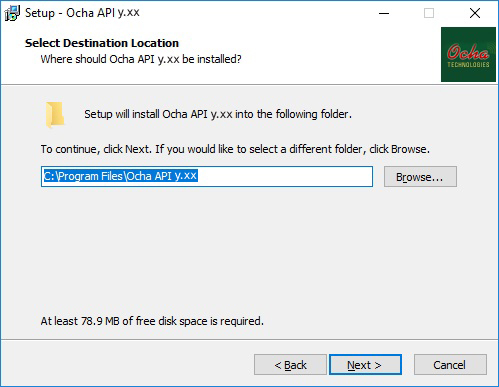
- Select the destination folder to install the Ocha API y.xx (here 'y.xx' denotes the latest version of Ocha API, version ). The default folder appears as C:\Program Files\Ocha API y.xx
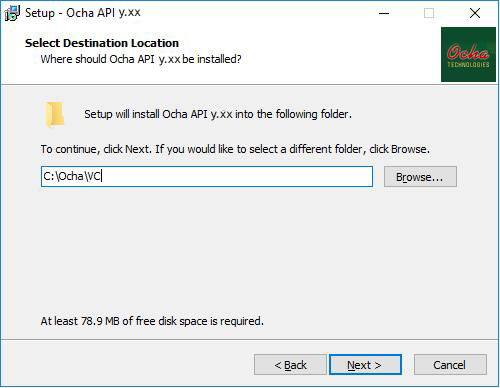
- Replace the default folder with C:\Ocha\VC. Press "Next" to continue.
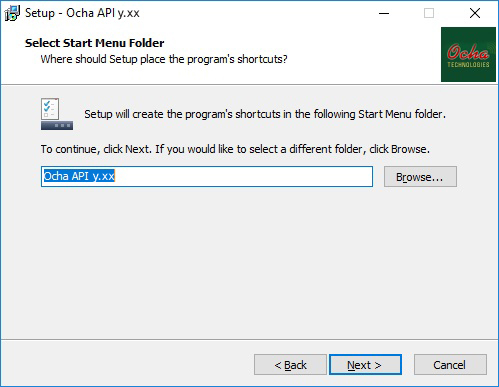
- Click "Next" to continue.
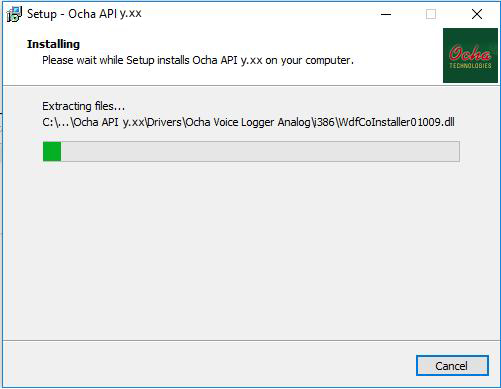
- Installation process takes place and the Ocha API y.xx will be installed in the computer.
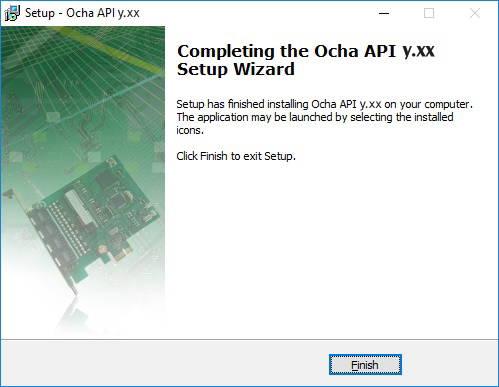
- Click "Finish" to complete.
- After installation, shutdown the PC and follow the steps given below to fix the Ocha Voice Card on the PCI Express slot:
- Unplug the power cord cable before opening the computer chassis to avoid electric shock.
Note: Always ground yourself while working with computer components by using an anti-static wrist strap to discharge any electrostatic buildup. Grounding helps to prevent the risk of damaging the computer components through electrostatic discharge (ESD). - Open the cover of the computer chassis to access the PCI/PCIe slots.
- Identify the PCI express slot for fixing the Ocha Voice Card.
- Remove the existing screw from the metal plate corresponding to the PCI express slot.
- Fix the Ocha Voice Card on the PCI express slot and tighten the screws. Ensure that the Voice Card is firmly seated on the slot.
- Make sure that the output ports of the Voice Card are accessible from the back panel of the computer.
- Put the cover back on the computer chassis, plug in the power cord properly and switch on the computer.
- Unplug the power cord cable before opening the computer chassis to avoid electric shock.
- In Windows 7, Windows 8, Windows 8.1 and Windows 10, the driver will be automatically detected and installed. In case the driver is not installed automatically, a prompt appears to install the device driver, set the path as C:\Ocha\VC y.xx (here 'y.xx' denotes the latest version of Ocha API, version ). Point the driver installation dialog to this folder and select the driver.
- After the successful installation of Ocha Voice Card, the LED status will turn green and blinking, else LED appears red and blinking.
- In Device Manager, the Ocha card will be detected as Realtek PCIe GBE Family Controller under Network Adapter.
Note: If there is more than one Ocha Voice Card on the same computer then user needs to assign valid Static IP's to the newly installed Ethernet interfaces. - To check the working of Ocha Card, open C:\Ocha\VC y.xx\Samples (here 'y.xx' denotes the latest version of Ocha API, version ) and run the ".exe" file available within the folder BasicIncoming or BasicOutgoing. If Firewall blocks the execution then select the checkbox corresponding to Private and Public within the option "basicincoming.exe" or "basicoutgoing.exe" to allow access. While running the .exe file, LED status will be stable and appears as green.
- Make a test call to ensure that the Voice Card is working properly.
Ocha Voice Card LED Status Indicators
| Sl. No. | LED | Status |
|---|---|---|
| 1 | Red & Blinking | Ocha driver not detected |
| 2 | Green & Blinking | Driver installed & Ocha card is detected |
| 3 | Stable Green | On successful execution of basicincoming.exe or basicoutgoing.exe |
Ocha Card Pinout Configuration

Ocha Voice Card port uses the standard RJ45 connector for E1 link.
This completes the installation of Voice Card driver, for further technical assistance please feel free to contact us at 