2 Line Analog USB Logger Device (OCH-LAU-02)

USB Logger Device Driver Package
The download link given below installs the Ocha 2 Line Analog USB Logger Device driver for Windows 7, Windows 8 and above. Click on the required link to download the driver package.
-
Driver for Windows 8 & above
Version:
Size: -
Unified Driver for Windows
Version:
Size:
Note: Please update the Ocha USB Logger driver to the latest version (version ) from the above given link before proceeding with the installation instruction.
How to install the USB Logger Device Driver
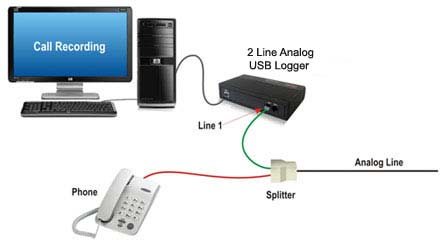
How to connect and install Ocha 2 Line Analog USB Logger Device
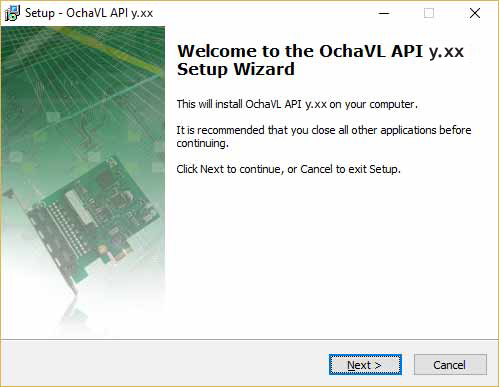
- Double click on the downloaded file to execute and install the USB Logger Device driver.
- Setup Wizard will appear, press “Next” to proceed.
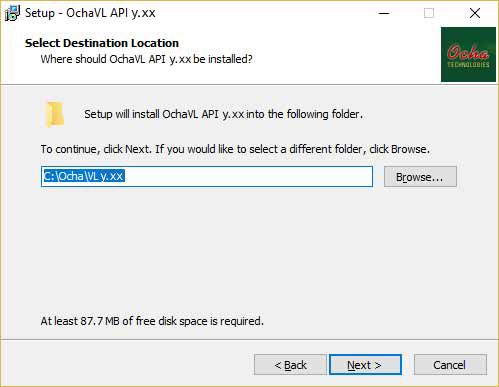
- Select the destination folder to install the OchaVL API y.xx (here 'y.xx' denotes the latest version of Ocha API, version ). Press “Next” to continue.
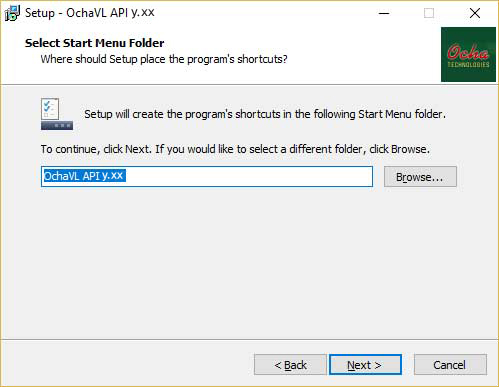
- Click “Next” to continue.
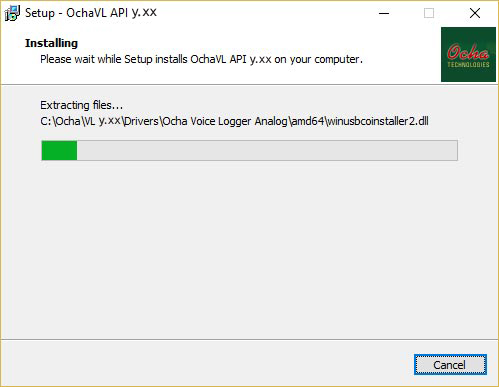
- Installation process takes place and the OchaVL API y.xx will be installed in the computer.
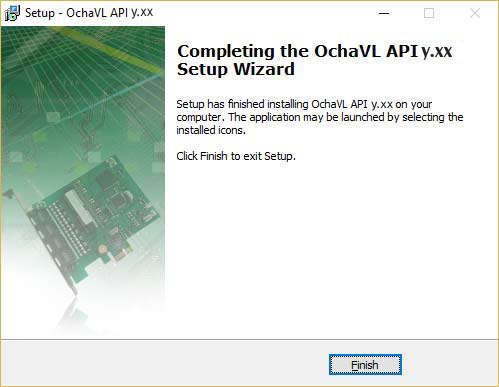
- Click “Finish” to complete.
How to connect and install Ocha 2 Line Analog USB Logger Device
- Use USB cable to connect Ocha 2 Line Analog USB Logger device to the USB slot on the back side of the computer. It should not be connected to the USB slot given in the front of computer.
- LED on the front-side of the device turns red and blinks. Windows shall automatically detect and install the hardware. Message appears as “Installing device driver software”. To check the status of device driver, click the link “Click here for status.”
- After completing the installation, message appears as “Device driver software installed successfully”. In case if the driver is not installed automatically, then go to Device Manager and update the driver software.
- Select the option “Browse my computer for driver software”.
- Select the location of driver software (for example, C:\Ocha\VL y.xx\Drivers) and then click ”Next”. Message appears, click “Install this driver software anyway” to proceed.
- The driver software will be installed and after successful installation, click ”Close”.
- Now, take a parallel line from the phone which you wish to record and connect it to one of the RJ11 ports present in the Ocha 2 Line Analog USB Logger device.
- Finally, to ensure the working of the Ocha USB Logger Device from API versions 1.04 or higher, select the downloaded file from C:\Ocha\VL y.xx\Samples (here 'y.xx' denotes the latest version of Ocha API, version ). On selecting the file, two folders named C# and VC are found. The folders represent the corresponding programming language, which the user could choose as per requirement. After choosing either one of the folders, select the folder BasicLogging and proceed with execution of the ".exe" program.
- In case Firewall blocks the execution, select the checkbox corresponding to Private and Public within the option BasicLogging.exe to allow access. The LED status will appear as green if the line is up while running the .exe file.
- Make a test call and check whether the calls are recorded to ensure that the USB Logger is working properly. The recorded audio files will be available within the folder named "Waves" in the BasicLogging folder.
Ocha 2 Line Analog USB Logger Device LED Status Indicators
| Sl. No. | LED | Status |
|---|---|---|
| 1 | Red & Blinking | Ocha driver not detected |
| 2 | Green & Blinking | Driver installed & Ocha USB Logger is detected |
| 3 | Stable Green | On successful execution of basiclogging.exe |
Ocha USB Logger Device Pinout Configuration

The product uses the standard RJ11 connector for recording purposes.
This completes the installation of 2 Line Analog USB Logger Device, for further technical assistance please feel free to contact us at 